 how-to
How to Build a Custom Home in Georgia Step by Step
Table of Contents
- Step 1: Set Your Budget and Secure Financing for a Custom Home in Georgia
- Step 2: Choose Your Land and Vet the Lot
- Step 3: Assemble Your Building Team and Design the Home
- Step 4: Understand Home Building Permits in Georgia
- Step 5: Follow the Custom Home Construction Timeline
- Phase 1: Pre-construction (4-12 weeks)
- Phase 2: Site work and foundation (3-6 weeks)
- Phase 3: Framing and dry-in (4-8 weeks)
- Phase 4: Rough-ins (3-5 weeks)
- Phase 5: Insulation and drywall (3-5 weeks)
- Phase 6: Interior finishes (6-12 weeks)
- Phase 7: Final inspections and closing (2-4 weeks)
- Summary schedule
- Step 6: Know the Cost to Build a Custom Home in Georgia
- Step 7: Use a Custom Home Builder Checklist Through Closing and Walkthrough
- Frequently Asked Questions
Last Updated: October 17, 2026
Step 1: Set Your Budget and Secure Financing for a Custom Home in Georgia
Building a custom home in Georgia starts with knowing what you can afford before you fall in love with a floor plan.
A construction loan works differently from a standard mortgage. It covers the build in stages, and your lender releases money as work is completed.
Here is what lenders look at:
- Your credit score and payment history
- Your debt-to-income ratio
- Your down payment and cash reserves
- The lot itself, if you already own it
Many buyers find that getting pre-approved before shopping for land saves months of stress.
Step 2: Choose Your Land and Vet the Lot
The right lot makes the whole project easier. The wrong one adds cost before you pour a single footing.
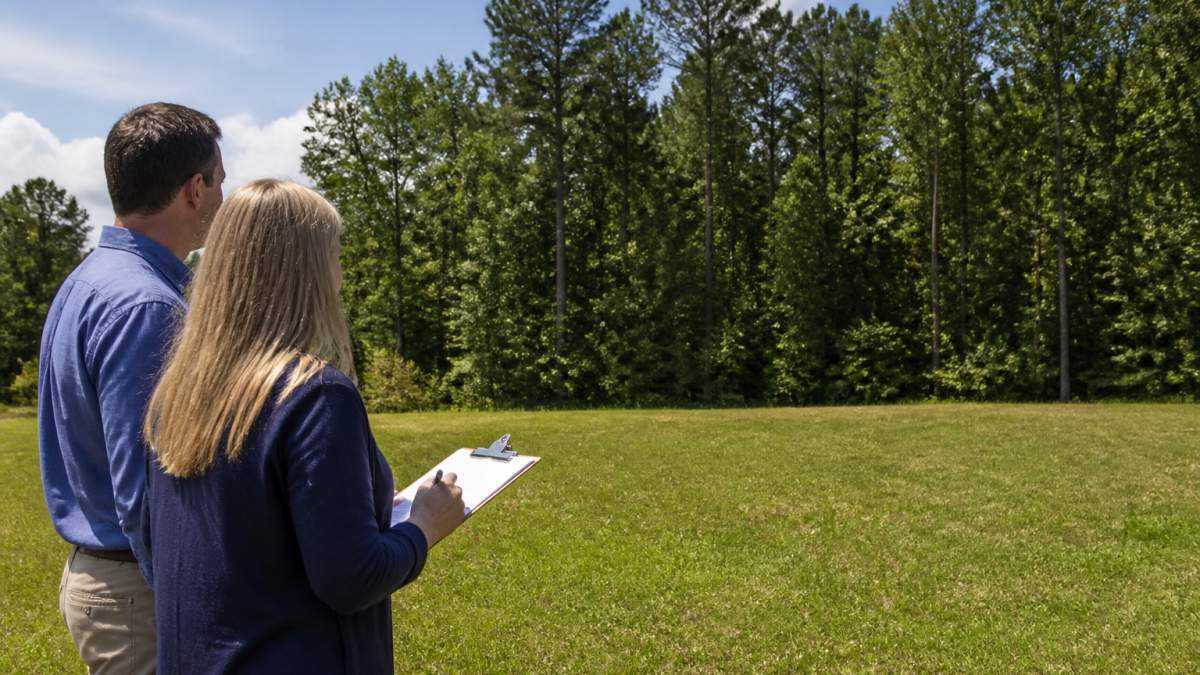
Before you buy, walk the property and check these items:
- Soil conditions and drainage
- Slope and how much grading the site needs
- Utility access: water, sewer, power, internet
- Zoning and any setback rules
- Easements or floodplain designations
A common mistake is buying on price alone. In practice, a cheap lot with poor drainage or no utility access can cost far more than a better-prepared site.
Have your builder review the lot before you close. A quick site walk can reveal problems that a listing photo never shows.
Step 3: Assemble Your Building Team and Design the Home
Your building team decides how smooth the project runs. A licensed residential contractor coordinates the trades, the schedule, and the paperwork, so you deal with one point of contact instead of a dozen.
Some homeowners consider self-contracting to save money. What most guides miss is the time cost: you become the general contractor, managing subcontractors, inspections, and material deliveries yourself.
When designing, think about how you actually live:
- Floor plan and room layout
- Kitchen and bathroom placement
- Storage and garage space
- Future needs, like a growing family
Bring your ideas to a consultation early. Design changes are cheap on paper and expensive on site.
Step 4: Understand Home Building Permits in Georgia
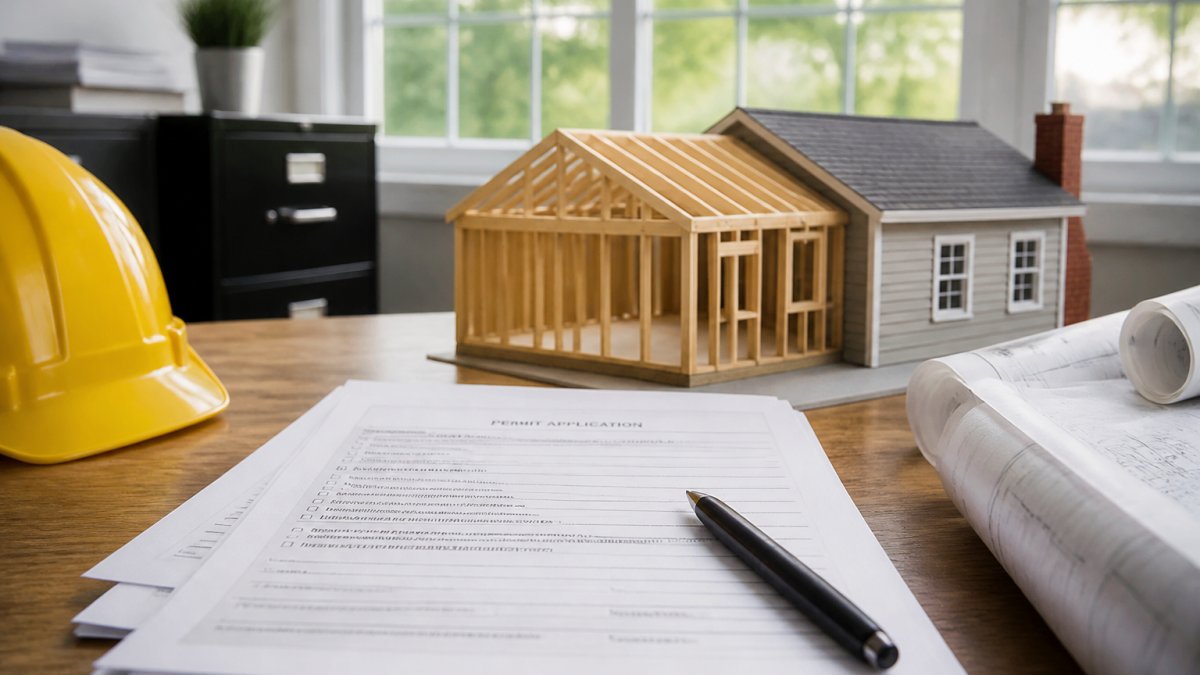
Permitting is where a custom build either stays on schedule or stalls for months. In this state, there is no single statewide building permit. Authority is delegated to local governments, so the county or city where your lot sits writes the rules, sets the fees, and runs the inspections. Two lots 20 minutes apart can fall under completely different permit offices with different timelines.
Who actually has jurisdiction over your lot
Before you buy, confirm which entity issues your permits. Common patterns:
- Unincorporated county land, the county planning and development department issues permits and performs inspections.
- Inside a city limit, the city may run its own permitting, or it may contract with the county for inspections. You need to know which.
- Special districts, some areas layer on additional review, such as a historic district, a watershed or stream buffer protection area, or a coastal management program near the coast.
A quick way to confirm: call the county tax assessor or planning department with the parcel number and ask, in writing, which office issues the building permit and who performs inspections.
The permits a typical custom home needs
Most jurisdictions require a set of separate permits rather than one all-inclusive document:
- Building permit (structural, energy code, and life-safety compliance)
- Electrical permit
- Plumbing permit
- Mechanical (HVAC) permit
- Septic permit or sewer connection approval, if not on a public system
Some counties bundle trade permits under the general building permit; others require each trade to pull its own. Ask which model applies before your builder submits.
What the plan review actually checks
Expect the reviewer to look at:
- Zoning compliance: use, setbacks, height limits, lot coverage, and impervious surface limits
- Site plan: grading, drainage, and how stormwater leaves the lot
- Erosion control: silt fence, inlet protection, and a construction entrance plan
- Structural drawings and compliance with the adopted building code edition
- Energy code compliance, which in this region also drives insulation, glazing, and air-sealing requirements
- Septic or sewer approval, which often must be secured before the building permit is issued
A practical checklist for confirming local rules
- Get the parcel number and confirm the jurisdiction (county vs. city).
- Request the current zoning designation and the setback and lot-coverage requirements in writing.
- Ask for the adopted building code edition and any local amendments.
- Confirm whether the lot is in a floodplain, watershed buffer, or other overlay district.
- Ask for the septic or sewer approval process and typical turnaround.
- Request the erosion control and land disturbance thresholds, many jurisdictions trigger a permit once disturbed area crosses a set square footage.
- Ask for the current fee schedule and whether fees are paid at submittal or at issuance.
- Confirm the inspection sequence and how inspections are requested (phone, portal, or app).
- Ask how long plan review typically takes and whether a third-party reviewer can speed it up.
- Get the certificate of occupancy requirements in writing before you start.
Timelines and the cost of getting it wrong
Plan review commonly runs from a couple of weeks to several weeks depending on the jurisdiction and the completeness of your submittal. Incomplete submittals are the most common cause of delay, each round of comments restarts the clock. Build the review window into your schedule rather than assuming it is instant.
Ask your builder to submit the most complete package possible the first time, full structural, energy, site, and erosion plans together. A clean first submittal is the single biggest lever on permit speed.
Step 5: Follow the Custom Home Construction Timeline
Most guides list construction stages but never show how they connect. Here is a full sequence from contract to keys, with typical durations and the dependencies that actually drive the schedule. Durations are ranges, not promises, weather, material lead times, and inspection availability move them.
Phase 1: Pre-construction (4-12 weeks)
This phase happens before any dirt moves, and it is where most delays are prevented.
- Finalize plans and selections (finishes, fixtures, appliances)
- Complete structural and energy drawings
- Submit for permits and land disturbance approval
- Finalize the construction loan and confirm the draw schedule
- Order long-lead items (windows, cabinetry, appliances, trusses)
Dependency: Permits and loan closing must both be complete before site work begins. Long-lead orders should be placed now so they arrive when framing is ready.
Phase 2: Site work and foundation (3-6 weeks)
- Clearing, grubbing, and demolition of any existing structures
- Erosion control installation (silt fence, construction entrance)
- Grading and excavation for footings
- Footing inspection, then pouring footings and foundation walls or slab
- Waterproofing and drain tile, then backfill
Dependency: The footing inspection must pass before concrete is poured. Backfill waits on waterproofing. Weather can add days here, saturated soil is the most common early delay.
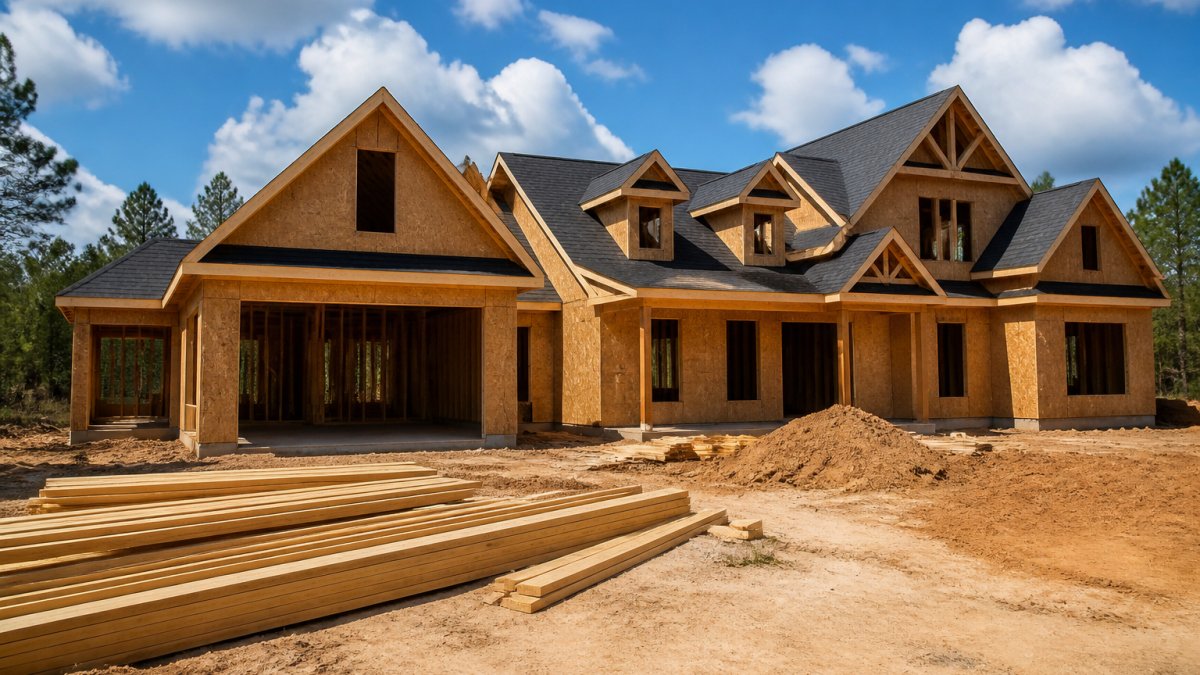
Phase 3: Framing and dry-in (4-8 weeks)
- Floor system, walls, and roof structure
- Sheathing, house wrap, and roofing
- Window and exterior door installation
- Rough framing inspection
Dependency: Framing inspection must pass before insulation. Dry-in (roof and windows) must be complete before interior rough-ins can be protected from weather.
Phase 4: Rough-ins (3-5 weeks)
- Electrical rough-in
- Plumbing rough-in
- HVAC rough-in and ductwork
- Low-voltage and structured wiring
- Rough-in inspections for each trade
Dependency: Each trade inspection must pass before drywall. Trades often overlap, but they must coordinate on wall and ceiling penetrations.
Phase 5: Insulation and drywall (3-5 weeks)
- Insulation installation and air sealing
- Insulation inspection
- Drywall hang, tape, and finish
- Primer coat
Dependency: Insulation inspection must pass before drywall. Drywall must be complete before trim and cabinets can be installed.
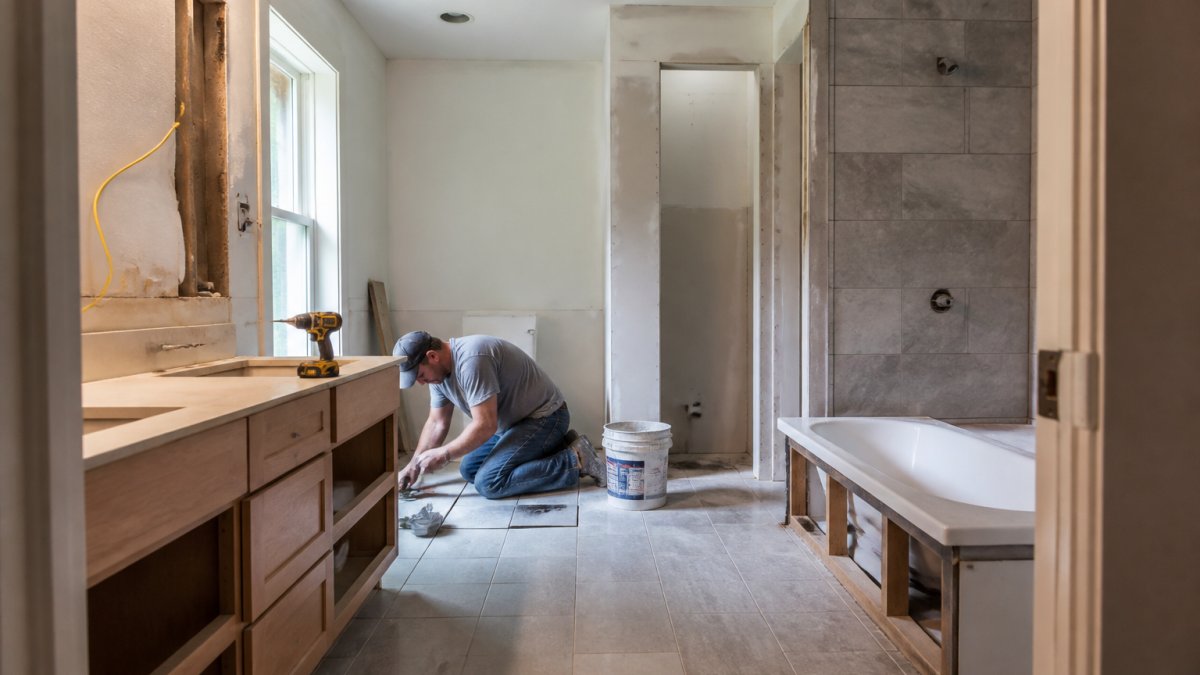
Phase 6: Interior finishes (6-12 weeks)
- Cabinets and countertops
- Interior trim, doors, and hardware
- Flooring
- Paint and stain
- Tile and shower surrounds
- Fixtures, outlets, and appliances
Dependency: Cabinets and countertops usually must be set before plumbing and electrical trim-out. Flooring sequencing depends on the material, some install before cabinets, some after.
Phase 7: Final inspections and closing (2-4 weeks)
- Final building, electrical, plumbing, and mechanical inspections
- Septic or sewer final approval
- Certificate of occupancy issued
- Final walkthrough and punch list
- Final draw and loan conversion to permanent financing
Dependency: Certificate of occupancy requires all trade finals to pass. The final draw typically releases after the certificate of occupancy and the punch list are complete.
Summary schedule
| Phase | Typical Duration | Key Dependency |
|---|---|---|
| Pre-construction | 4-12 weeks | Permits and loan closing |
| Site work and foundation | 3-6 weeks | Footing inspection |
| Framing and dry-in | 4-8 weeks | Framing inspection |
| Rough-ins | 3-5 weeks | Trade inspections |
| Insulation and drywall | 3-5 weeks | Insulation inspection |
| Interior finishes | 6-12 weeks | Cabinet and countertop install |
| Final inspections and closing | 2-4 weeks | Certificate of occupancy |
A realistic total for a custom home in this region is often in the range of 8 to 14 months from permit issuance to certificate of occupancy, with larger or or highly customized homes running longer.
Ask your builder for a written schedule with the inspection milestones marked. The inspections are the hard gates, everything downstream waits on them, so they are the best places to track progress.
Step 6: Know the Cost to Build a Custom Home in Georgia
The cost to build a custom home in Georgia depends on size, finishes, site conditions, and location. There is no single number, and any builder who quotes one without seeing your plans is guessing.
Your budget should cover:
- Land and site work
- Permits and fees
- Materials and labor
- Fixtures and finishes
- A contingency fund for surprises
Build in a contingency from day one. Unexpected issues, like foundation problems, are far less painful when you planned for them.
Step 7: Use a Custom Home Builder Checklist Through Closing and Walkthrough
A custom home builder checklist keeps the final stretch organized. Use this before you close:
- Confirm all inspections passed
- Test every fixture, outlet, and appliance
- Review the final walkthrough punch list
- Collect warranties and manuals
- Confirm the certificate of occupancy
Walk the home with your builder and note anything that needs fixing. Get the punch list in writing with dates.
The walkthrough is your last chance to catch issues before you take the keys. Take your time and check everything.
Frequently Asked Questions
What are the steps to building a custom home in Georgia?
The process starts with setting a budget and getting financing, then choosing and vetting land, assembling your building team, and finalizing the design. Next comes permitting, site preparation, and construction through framing, mechanicals, and finishes. The final steps are inspections, the walkthrough, and closing. Each stage depends on the one before it, so a custom home georgia project works best when you plan the sequence before breaking ground.
How long does it take to build a custom home in Georgia?
Most custom homes take 8 to 14 months from permit approval to move-in, depending on size, site conditions, and material lead times. Land purchase, design, and permitting can add several months before construction begins. Weather, inspection schedules, and change orders can extend the custom home construction timeline, so build a buffer into your plans and ask your builder for a schedule with milestones.
How much does it cost to build a custom home in Georgia?
The cost to build a custom home in Georgia depends on square footage, finishes, site work, and location. Budget categories include land, design fees, permits, site preparation, foundation, framing, roofing, mechanical systems, interior finishes, landscaping, and a contingency for surprises. Because pricing varies by project, ask your builder for an itemized estimate and confirm current figures in writing before signing.
What permits do I need to build a house in Georgia?
Home building permits in Georgia typically include a building permit, plus separate permits for electrical, plumbing, and mechanical work. You may also need a septic or well permit, a driveway or right-of-way permit, and erosion control approval. Requirements vary by county and city, so confirm the exact list with your local planning and inspections office before you start site work.
Building a custom home in Georgia takes planning, patience, and a team you trust. RTS Builders, LLC brings over 10 years of residential and commercial construction experience, hands-on project leadership from Founder Robert, and clear communication from start to finish. We keep job sites clean, stick to the schedule, and build with craftsmanship you can count on. Get started with RTS Builders, LLC and build your dream home with confidence.